Pressure marks, also known as pressure spots or screen bruises, are localized distortions on the display caused by excessive pressure. They can appear as dark spots, streaks, or patches on the screen.
It’s crucial to correctly identify pressure marks on your laptop screen. These marks are typically visible when the screen is turned on and may change in appearance based on the background color.
In this in-depth manual, we’ll provide you with a detailed walkthrough of step-by-step techniques to successfully remove these marks and regain the crispness of your screen.
What Causes Pressure Marks on a Laptop Screen?
Pressure marks on a laptop screen can be attributed to various factors, all of which involve the application of force or pressure on the delicate surface of the display.
Understanding the common causes can help you take preventative measures to avoid future occurrences. Here are some of the primary culprits:
Improper Handling
Handling your laptop without care, such as gripping it too tightly or carrying it by the screen, can lead to pressure marks. It’s essential to handle your device with a gentle touch to prevent undue stress on the screen.
Heavy Objects on Top
Placing heavy objects on top of a closed laptop can result in pressure points. Even if the laptop is in a bag, excessive weight can lead to distortions in the display. Avoid stacking heavy items on your laptop to maintain an undistorted screen.
Accidental Pressure
Accidentally applying excessive force to the screen, such as closing the lid with force or pressing on the display too hard, can cause pressure marks. It’s important to be mindful of how much pressure you’re exerting on the screen during regular use.
Storage in Tight Spaces
Storing your laptop in a tight or cramped space where it may be subject to constant pressure can lead to marks over time. Ensure your laptop is stored in a location where it has adequate space and isn’t constantly squeezed or pressed.
Transportation Hazards
When carrying your laptop in a bag or backpack, it’s crucial to ensure that there are no sharp objects or items that could press against the screen. Even minor pressure over time can lead to noticeable marks.
By being aware of these common causes, you can take proactive steps to prevent pressure marks on your laptop screen. Remember to handle your device with care and store it in a manner that minimizes any potential pressure on the screen. This proactive approach will help maintain the longevity and visual clarity of your laptop screen for years to come.
Check Also: Why is My Laptop Keyboard Typing on its Own?
How to Fix Pressure Marks from Laptop Screen
Pressure marks on a laptop screen can be frustrating, but there are a few methods you can try to fix them. Keep in mind that if the marks are too severe or the screen is physically damaged, it may be best to seek professional help or consider replacing the screen altogether. Here are some steps you can take:
Materials Needed
Gather the following materials before you start the removal process:
- Microfiber cloth
- Distilled water
- Isopropyl alcohol
- Cotton swabs
- Soft, lint-free cloth
Power Off and Disconnect
Before you begin the cleaning process, ensure your laptop is powered off and disconnected from any power source. This precautionary measure is essential to prevent any potential electrical hazards during the cleaning process.
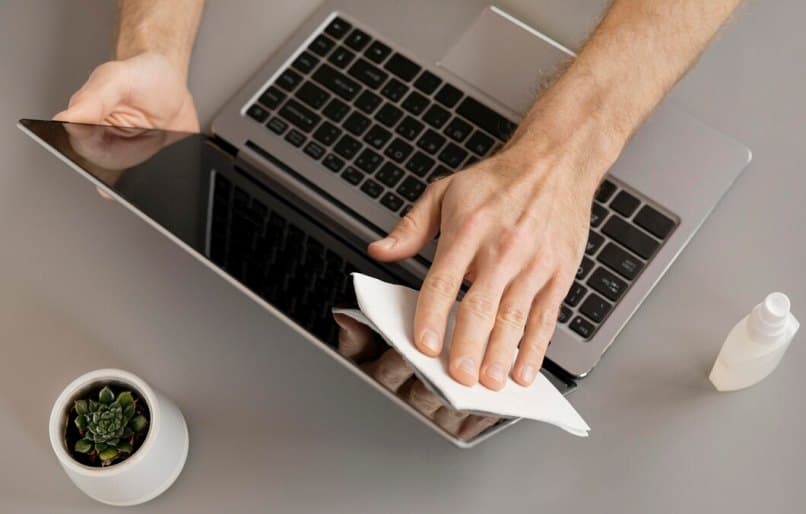
Clean the Surface
Start by using a microfiber cloth to gently wipe the surface of the laptop screen. This will help remove any loose dust or debris that may be present.
Create a Cleaning Solution
In a small bowl, mix equal parts distilled water and isopropyl alcohol (70% concentration). This solution provides an effective and safe cleaning agent for your laptop screen.
Dampen the Cloth
Dip a corner of the microfiber cloth into the cleaning solution and wring out any excess liquid. The cloth should be slightly damp, not soaking wet.
Gently Clean the Screen
Using gentle, circular motions, clean the affected areas of the laptop screen with the dampened cloth. Apply slight pressure, but avoid pressing too hard, as this can exacerbate the pressure marks.
Focus on the Pressure Marks
For stubborn pressure marks, use a cotton swab dipped in the cleaning solution. Gently rub the affected area in a circular motion to help disperse the pressure points.
Dry and Polish
Using a separate, dry, lint-free cloth, gently dry the screen and polish it to a streak-free finish. Ensure all cleaning residue is removed.
Inspect for Residual Marks
After cleaning, inspect the screen for any remaining pressure marks. If needed, repeat the process to further improve the screen’s appearance.
See Also: How to Fix a Broken Laptop Hinge?
FAQs
Can I use regular water instead of distilled water?
Yes, while distilled water is preferred, regular water can be used in a pinch. Just ensure it’s clean and free from impurities.
Will this method work for all types of screens?
This method is safe for most laptop screens, including LCD and LED displays. However, exercise caution with touchscreens and consult your manufacturer’s guidelines.
Is it normal to see slight discoloration after cleaning?
In some cases, a slight discoloration may occur, but it should fade over time. If it persists, consult a professional.
How often should I clean my laptop screen to prevent pressure marks?
Regular cleaning with a soft, lint-free cloth can help prevent the formation of pressure marks.
Final Thoughts
Ensuring the longevity and clarity of your laptop screen is crucial for a seamless computing experience. By diligently following these steps, you’ll not only remove pressure marks effectively but also safeguard the overall health of your screen.
A well-maintained laptop screen enhances your visual experience and contributes to the longevity of your device.